
Your Google Business Profile (GBP) can make or break your visibility in local searches. For a service-driven business like a hair salon, where location and reputation matter most, optimizing this profile is the key to more clicks, more calls, and ultimately more clients. This guide will walk you through every crucial step to help your salon dominate Google Maps and local search results.
Why Google Business Profile Optimization Matters
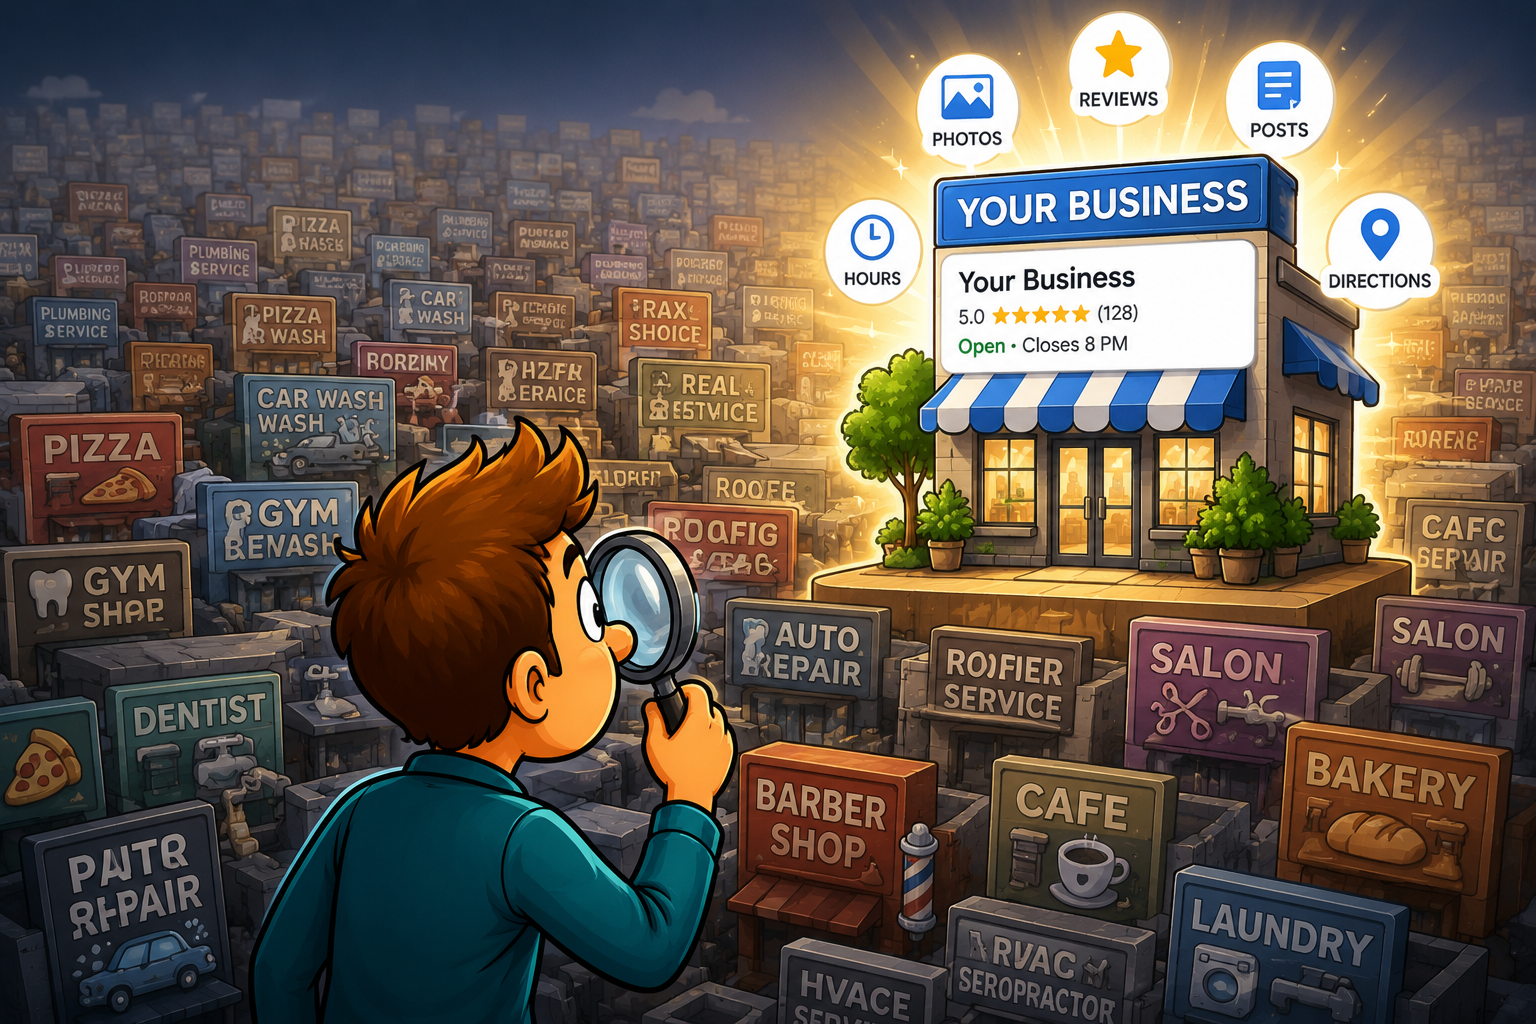
Today’s digital clients expect instant answers. When they search for a “hair salon near me,” Google showcases the top three local businesses right on the map—this is called the “Local Pack.” Appearing here boosts your visibility tenfold.
A well-optimized Google Business Profile:
- Increases your chances of ranking in local searches
- Builds trust through accurate, up-to-date information
- Drives direct bookings and calls from potential clients
Google Business optimization is not optional—it’s essential.
Step 1: Claim and Verify Your Business Listing
Head over to Google Business and search for your salon. If it’s unclaimed, you’ll need to:
- Sign in to your Google Account
- Search and claim your business
- Choose a verification method (usually via postcard, phone, or email)
Verification is crucial—unverified businesses don’t show up in many key places on Google.
Step 2: Use the Exact Business Name
Your business name should match what’s on your signage and marketing materials. Avoid keyword stuffing (e.g., “Bella Salon Best Haircut NYC”)—this violates Google’s policies and can lead to suspension.
Consistency is key—keep the same name across all platforms (Facebook, Yelp, directories, etc.).
Step 3: Choose the Right Primary Category
Set your primary category as “Hair Salon.”
Then, use additional categories that reflect your services such as:
- Hairdresser
- Beauty Salon
- Hair Colorist
- Barber Shop
The right category improves your relevance in search queries.
Step 4: Add Secondary Categories Thoughtfully
Google allows you to choose multiple categories. If you offer more than just cuts—like hair coloring, bridal updos, or skincare—add these as secondary categories. Only include categories that represent real, offered services.
Step 5: Write a Compelling Business Description
Your business description is your elevator pitch.
Tips for writing it:
- Be clear and customer-focused
- Mention your key services and specialties
- Include local keywords naturally (e.g., “downtown Boston salon”)
Keep it between 750 characters and make it easy to read.
Step 6: Include Accurate NAP Information
Your Name, Address, and Phone number (NAP) must be:
- Correct
- Consistent across all online platforms
- Formatted the same way everywhere
Even small inconsistencies (like “St.” vs. “Street”) can hurt your local rankings.
Step 7: Add a Booking Button or URL
Linking to your online booking system (Fresha, Vagaro, Square, etc.) makes it easy for clients to schedule appointments directly from your Google listing.
Pro Tip: Use a UTM tag to track how many bookings come from GBP in Google Analytics.
Step 8: Upload High-Quality Photos and Videos
Visuals matter—a lot. Google listings with photos get 42% more requests for directions and 35% more click-throughs to websites.
What to include:
- Storefront exterior
- Interior setup
- Stylists in action
- Before-and-after photos
- Short video walk-throughs
Update photos regularly to keep your listing fresh.
Step 9: Add Services and Products
List your services under the “Services” tab with:
- Clear names
- Accurate pricing
- Short descriptions
This helps Google index your offerings and shows customers exactly what you provide before they even visit.
Step 10: Post Regular Updates and Offers
Google Posts are mini social updates that appear in your listing.
Types of posts:
- Weekly promotions
- Holiday specials
- Staff highlights
- Hair care tips
Each post stays visible for 7 days and can drive immediate engagement.
Step 11: Collect and Respond to Reviews
Client reviews signal trust and affect your rankings.
Best practices:
- Ask clients post-visit (via text or email) to leave reviews
- Respond to every review—thank happy clients, and professionally handle negative ones
- Avoid fake reviews; they’re easily spotted and penalized
Step 12: Set Accurate Business Hours and Holiday Schedule
Accurate hours are a basic trust factor.
- Update seasonal or holiday hours in advance
- Add special closures to avoid confusion
- Be transparent—don’t say “open” if you’re not
Step 13: Enable Messaging and Answer FAQs
Turn on messaging to allow potential clients to ask questions directly from your listing.
Use the FAQs section to address common queries such as:
- “Do you accept walk-ins?”
- “Do you do bridal makeup?”
- “What’s your cancellation policy?”
Step 14: Monitor Insights and Performance Metrics
Use the built-in Google Business Profile Insights to track:
- How many people viewed your profile
- Actions taken (calls, bookings, direction requests)
- What keywords triggered your listing
Also, link your listing to Google Analytics for deeper insight into traffic behavior and conversions.
Step 15: Keep Profile Updated Consistently
Once a month, do a quick profile audit:
- Add new photos
- Remove outdated promos
- Refresh services or pricing
- Check for any changes in hours or contact info